
Feature Article
Fat-Wall Window Bucks
Carefully installed window bucks make for secure fastening and easy alignment of windows and exterior trim
By: Dan Morrison and Sal Alfano
Wrapping a building with rigid insulation creates a tight thermal envelope that minimizes heat loss via conduction through the framing. At windows, it’s important to preserve that thermal break while also providing a solid nail base. David Joyce and his crew at Synergy Construction, in Lancaster, Mass., solved the problem on a recent deep energy retrofit on which they wrapped the building in two layers of 2-inch foam. After the first layer was installed, they framed the perimeter of window openings using 2-by material padded out with ½-inch plywood to match the 2-inch foam thickness. Here’s a step-by-step look at how they did it, adapted from a video at ProTradeCraft.com.

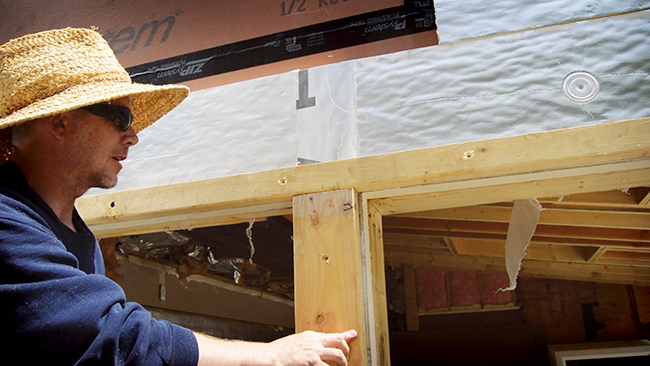
This top piece spans a series of three identical windows. Calvin and
David (in the hat) have fastened each end and are using a straightedge
to make sure the 2-by isn’t bowed in the middle, which could create
alignment problems later when the trim is installed.
In a bank of windows like this, making sure the wood bucks are
straight and level helps with alignment during window installation.
Here, David aligns an intermediate vertical buck with a centerline
marked on the top piece to ensure even spacing.
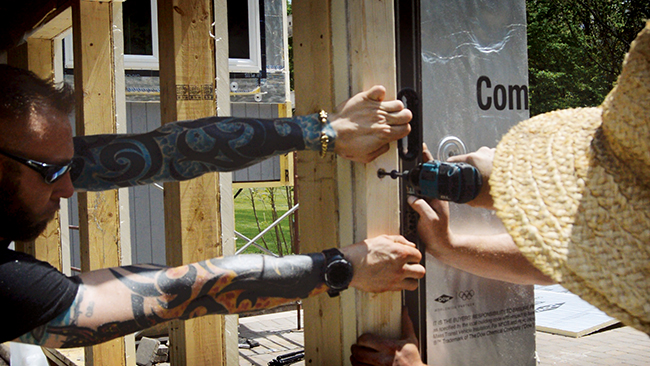
Damien applies pressure to straighten a side buck while it’s fastened
to the frame with a 6-inch screw. Countersinks for the screwheads are
created ahead of time using a spade bit.
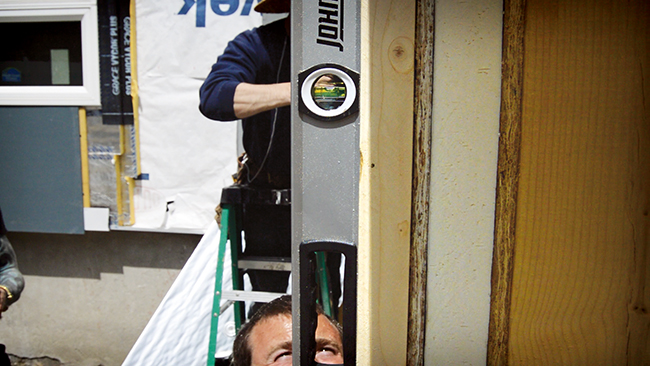
Fastening the bucks with screws can compress the foam and create a
wavy surface. Use a straightedge and tighten or back-out fasteners as
necessary to make sure the bucks are flat.

The last step before installing the windows is to flash the opening.
In this case, a starter strip for the second layer of foam was run
under the windows, then cut on a bevel to promote drainage of any
water that might penetrate the opening. The double layer of foam at
the sills will be flashed with peel-and-stick tape, so the wood bucks
are omitted to promote drainage.
Dan Morrison is editor-in-chief at ProTradeCraft.com; Sal Alfano is Pro Remodeler’s director of content. Thanks to David Joyce, Calvin Cutts, Damien Higgins, PJ Burke, and John Albert at Synergy Construction.
This article was originally published in Professional Remodeler 2017.